Welcome to my blog post on creating a beautiful Hugged by Hearts scarf! If you’re looking for a fun and stylish project to showcase your crochet skills, you’ve come to the right place. In this post, we’ll guide you through the step-by-step process of creating a fun Hugged by Hearts scarf, perfect for adding an elegant touch to any outfit this Valentine’s Day.
Throughout this post, we’ll cover the basics of the V stitch, including how to create the V stitch pattern, how to choose the perfect yarn and hook, and how to customize your scarf for a unique and personalized look. We’ll also provide helpful tips and tricks to ensure that your project turns out just the way you envisioned. Whether you’re a beginner looking to expand your crochet repertoire or an experienced crafter seeking a new and satisfying project, this blog post is for you. So grab your crochet hooks and yarn, and let’s get started on creating a gorgeous V stitch scarf that you’ll be proud to wear or gift to a loved one!
Materials Needed:
- Super Chunky yarn (likely will use 2 skeins)
- Crochet hook “N”
- Scissors
- Tapestry needle
With those materials on hand let’s make a cute scarf!
- Make a slip knot and insert your hook. Chain (ch) 18.
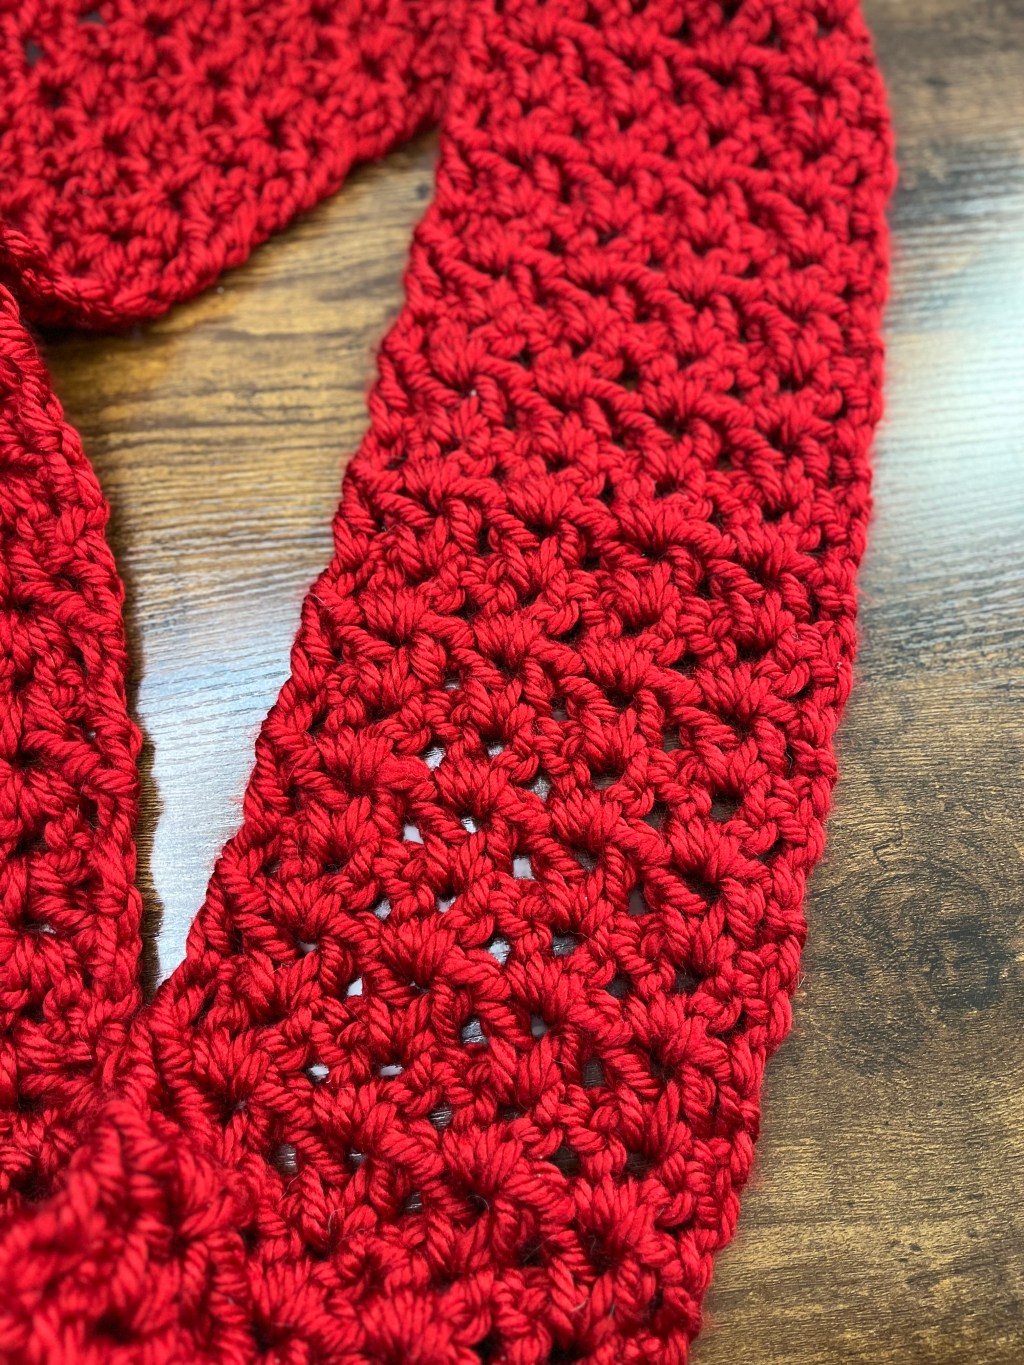
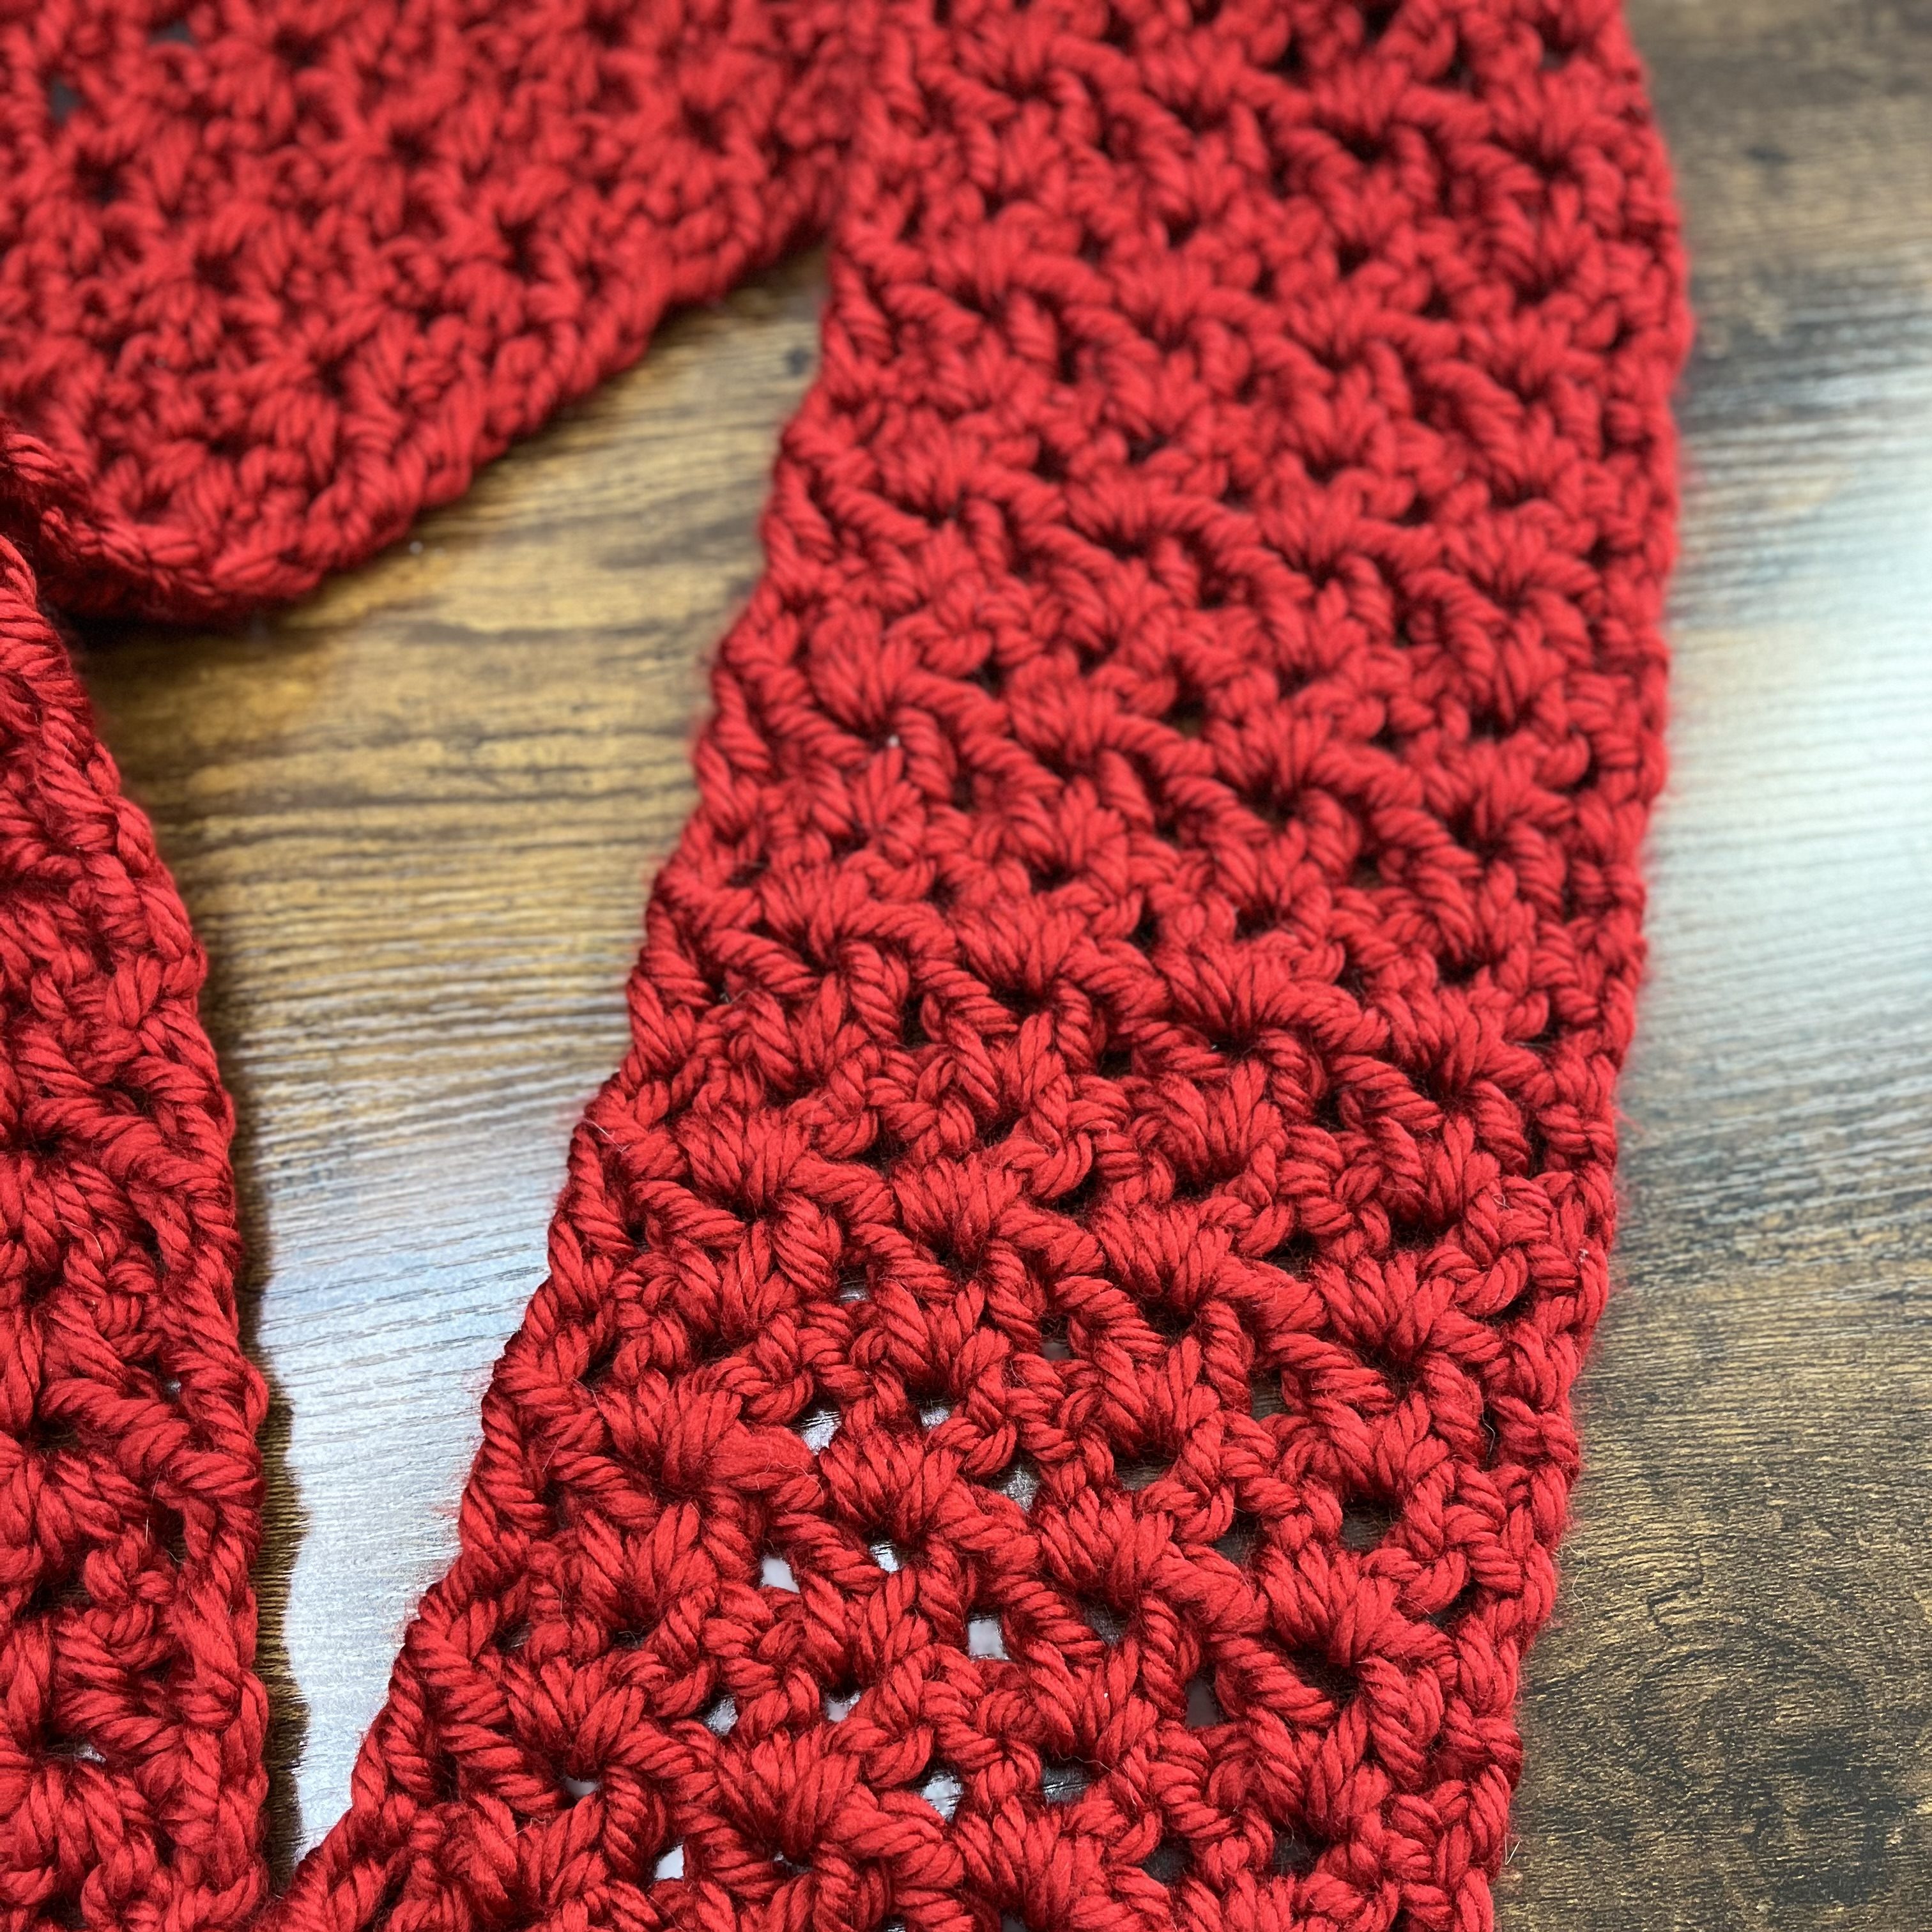
- We’re going to start our foundation row by crocheting a double crochet (dc) into the 5th chain from the hook. Ch 1, then dc into the same stitch (5th from the hook). This will create the first “V” stitch. Skip 2 chains and repeat *dc, ch1, dc* into the same stitch, and continuing this pattern every 3rd chain until you get to the end of your foundation chain. Then dc into last chain, and ch 3. Turn work.
- This next row is going to repeat itself for the rest of the scarf. This will be similar to the first row because we are still doing the *dc, ch1, dc* pattern, but instead of counting chains, we are just going to work these into the ch1 spaces from the previous row. So we’re going to be creating our new “V” into the one below it. Each row will end with a dc into the turning chain from the previous row, and ch3 to start the next row.
- Repeat step 3 until the scarf is 55″ tall.
- To connect the ends together and make this an infinity scarf, line up the first and last row, making sure the rest of the scarf isn’t twisted at any point. Line the V’s up to each other, and single crochet (sc) into the ch1 spaces and the spaces between the V’s, ending with a sc in the turning chains. Cut the yarn (if you have any left) and tie off the last stitch. From here you can weave in your ends!
This simple V stitch crochet scarf pattern is perfect for beginners and creates a lovely textured scarf that can be enjoyed by both men and women. If you are looking to adjust the width of the scarf, any multiple of 3 will work. I chose 18 for the width I was looking for, but if you were wanting a wider or thinner scarf, it would be easy to do. Happy crocheting!
If you would like to see these steps done, you can watch the video below where I go through each step!

Leave a comment