
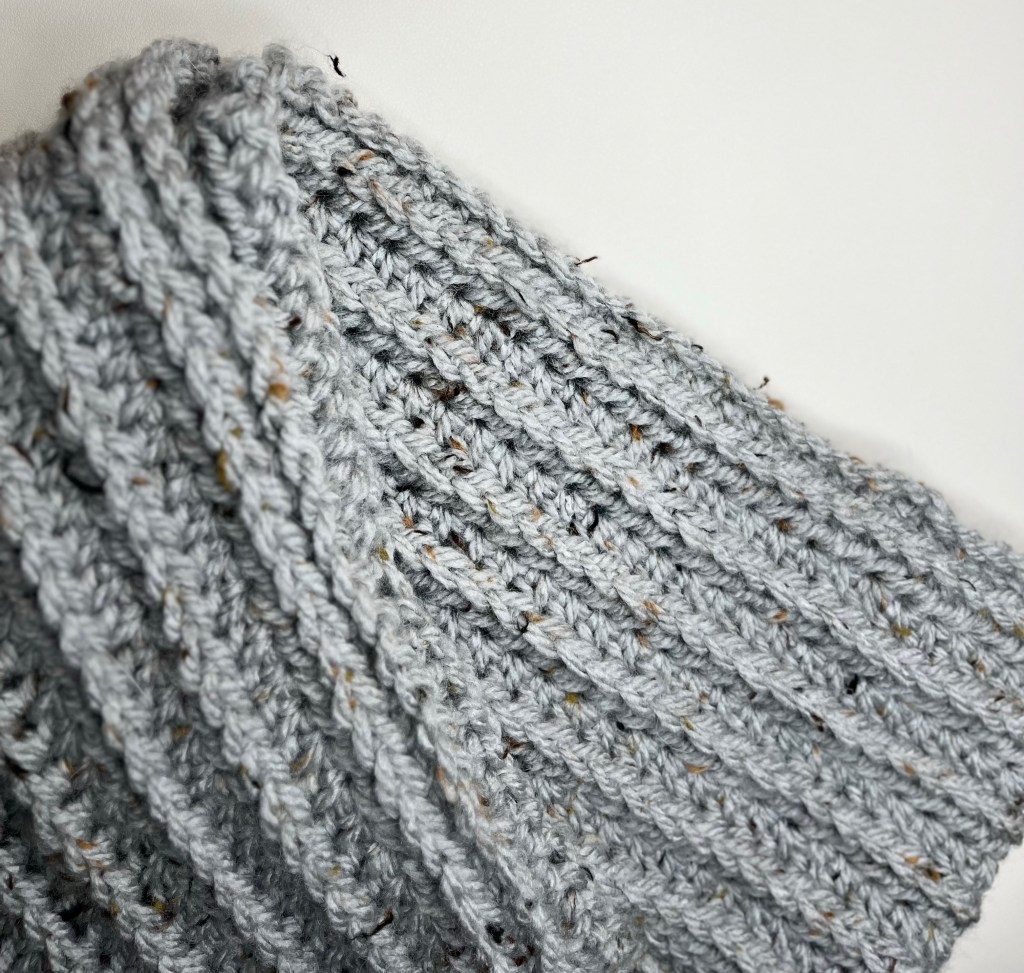
An easy crochet pattern that ends up looking more complicated than it is, the Ribbed Crochet Infinity Scarf is a great project for those looking for something different. In this pattern, we will go over two different crochet stitches to form this ribbed look, that is one sided. The other side will still have an interesting look to it, though the ribbing won’t show through.
For this project we will only need a couple materials:
- Chunky (6) yarn – 2 skeins
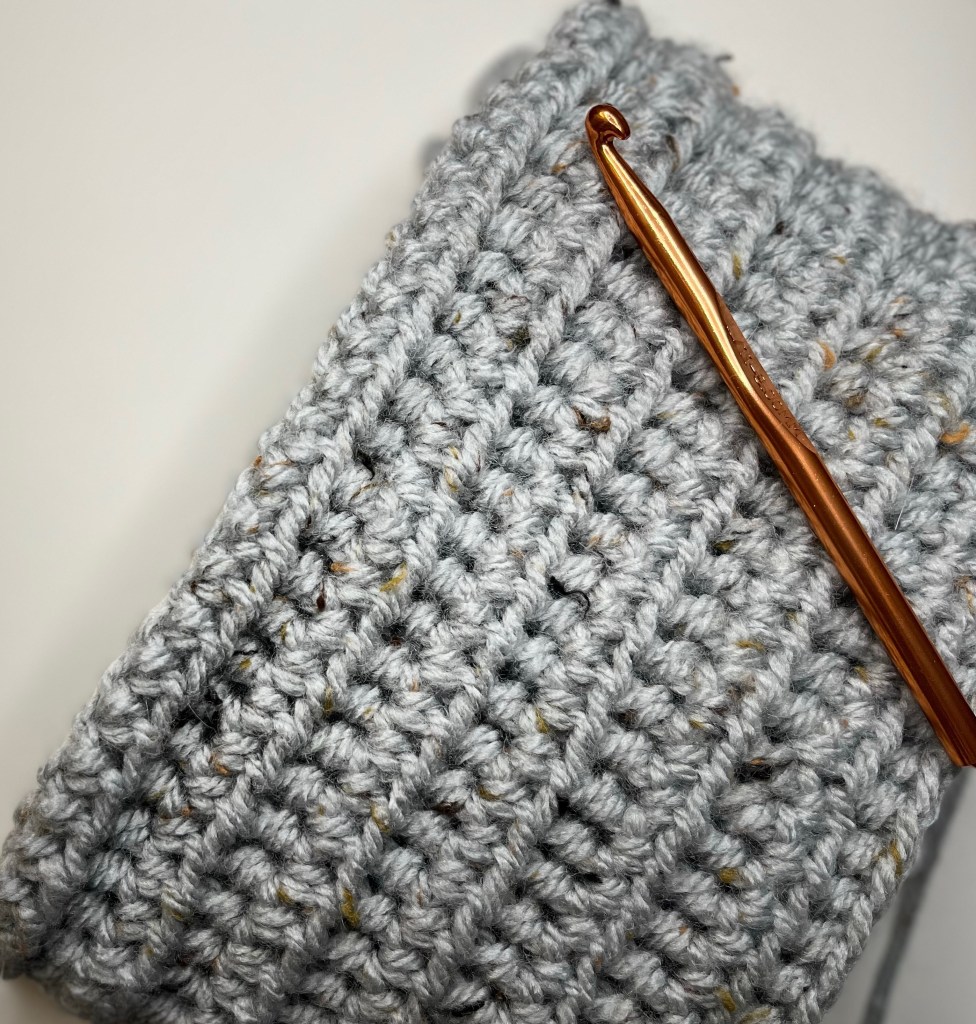
- Crochet Hook L
- Scissors
- Tapestry needle
For this scarf we will be going back and forth between two stitches, which are two forms of the half double crochet (HDC)
To start, we’ll be chaining 134.
The entire first row will be HDC, starting with the 3rd chain from the hook. Ch 2, and turn work
The next row will be where the ribbed look comes from. Instead of inserting our hook through the first stitch, we’ll be inserting the hook through the top post. This is the smaller post just under the top of the stitch. Insert hook as usual through the stitch, but sideways, so your hook will come out of what is the next stitch. Keep doing this until you reach the end of the row. HDC into last stitch (turning ch from previous row), ch 2 and turn work again.
HDC all stitches. Ch 2, and turn work
HDC into top posts just as in the second row, HDC into last stitch, ch 2 and turn work.
Repeat these two rows a couple more times until you have 12 rows.
Once you reach the end, you’ll bring the two short ends of the scarf together, and single crochet the two ends together to create the infinite look.
Using your tapestry needle to weave in the ends.
To follow along, you can watch the video below as I show you how to create the infinity scarf.

Leave a comment